APPLYING LASHES MADE EASY
We have all been there, attempting to apply false lashes then failing miserably time after time. It’s frustrating, messes up your makeup, and ultimately ends up putting you in a bad mood. Good news, it doesn’t have to be that way anymore! I am going to share with you a few tricks to easily apply false lashes! From now on, you can successfully up your makeup game without too much effort. You will look and feel amazing, plus the more you practice, the better you will get! Check out this easy step-by-step tutorial below to successfully apply false lashes.
As a makeup artist, I am a huge fan of false lashes. Whether I’m using a more natural lash or a more dramatic lash, I always love the way it compliments the makeup and enhances the eyes, making them pop in photos.
Time and time again I hear my clients say that they “can’t apply false lashes”. Just like many things in life, practice makes perfect. The more you do it, the easier it will become. Although, knowing these simple steps will hopefully make the task seem less intimidating for beginners.
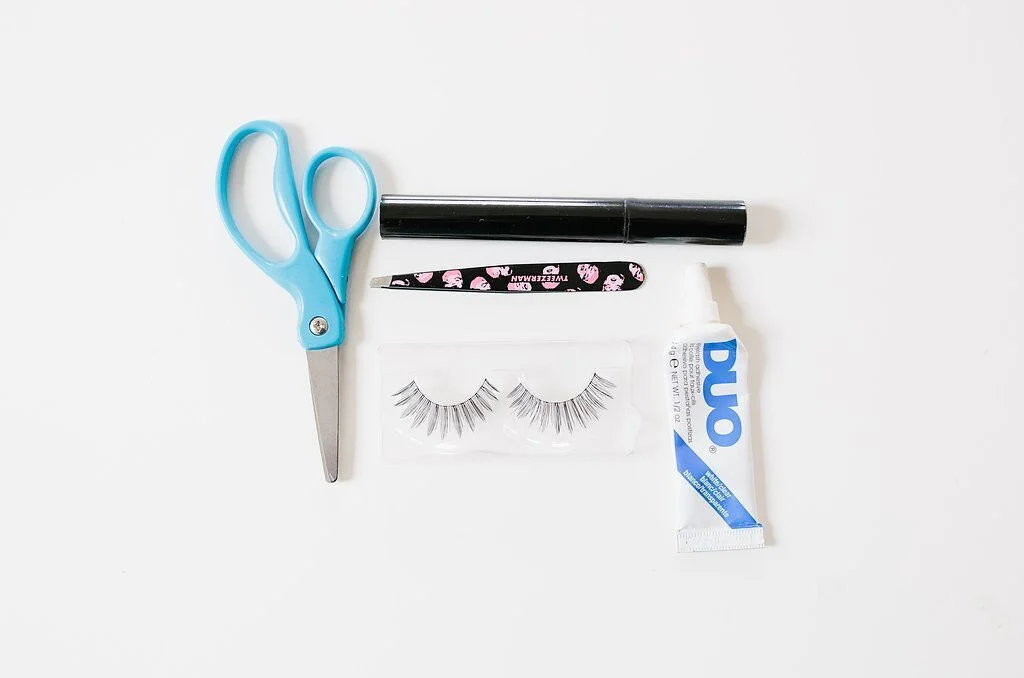
What is needed to make applying strip lashes easy:
*A favorite pair of strip eyelashes
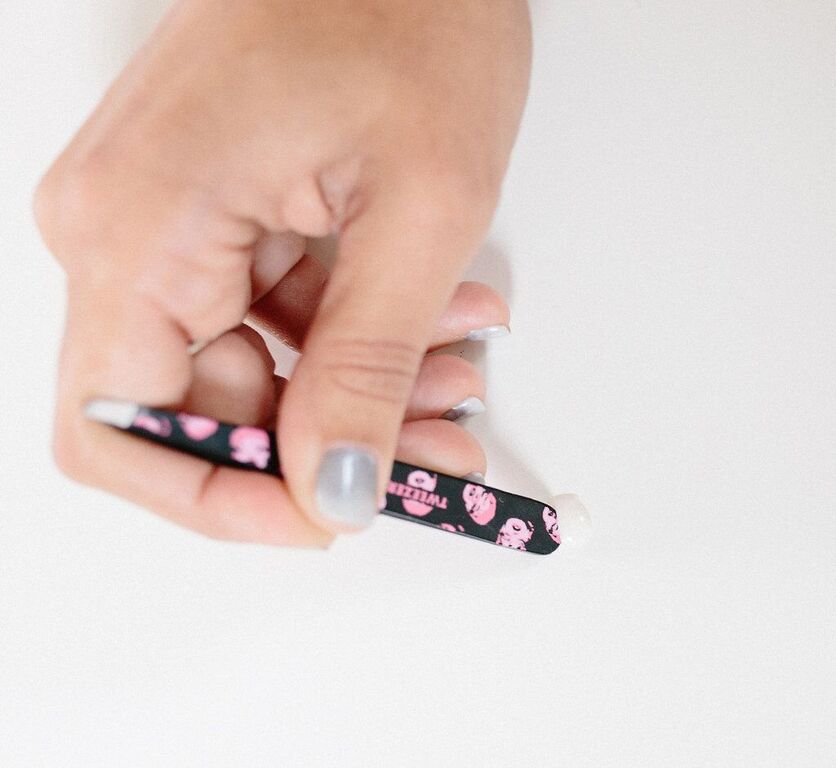
*Tweezers
*Lash glue (Duo is my favorite)
*Scissors
*Mascara (optional)

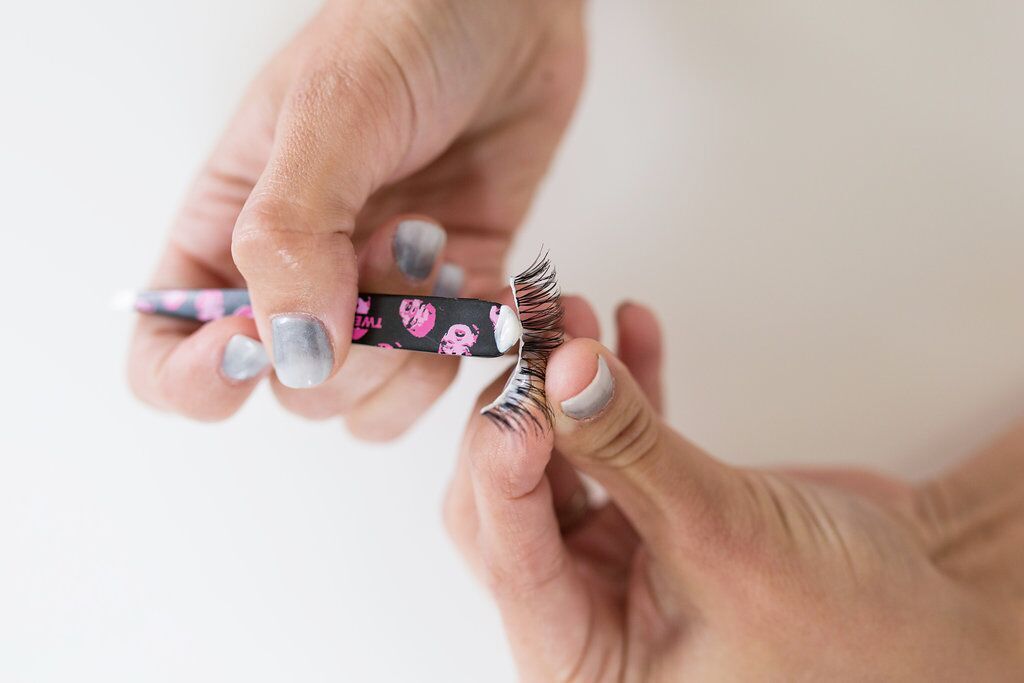
Step 1: MEASURE
A step that must not be overlooked is measuring the strip lash to your eye. You do not want the lash to be longer than the actual eyelid. This will help prevent any poking in the inner corner of the eye or “lifting” in the outer corner. Simply put a “dry” lash on your lash line as if adhering them (without glue). If there is any part of the false lash that goes past your natural lash line, count how many lashes need to be trimmed off to meet the end of your natural lash line.
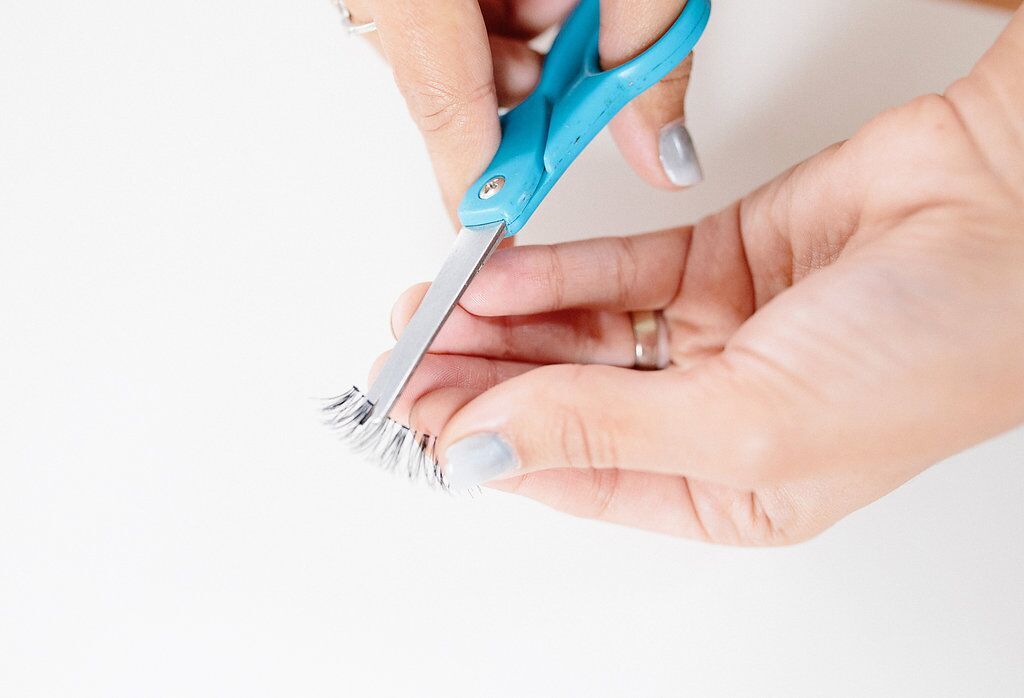
Step 2: TRIM LASHES
Remove the “dry” lashes and trim if needed with a small pair of scissors. Place the extra lash aside. One may want to use this to add more drama to the outer corners of the eye. This can be done by adding on top of the fitted strip lash.
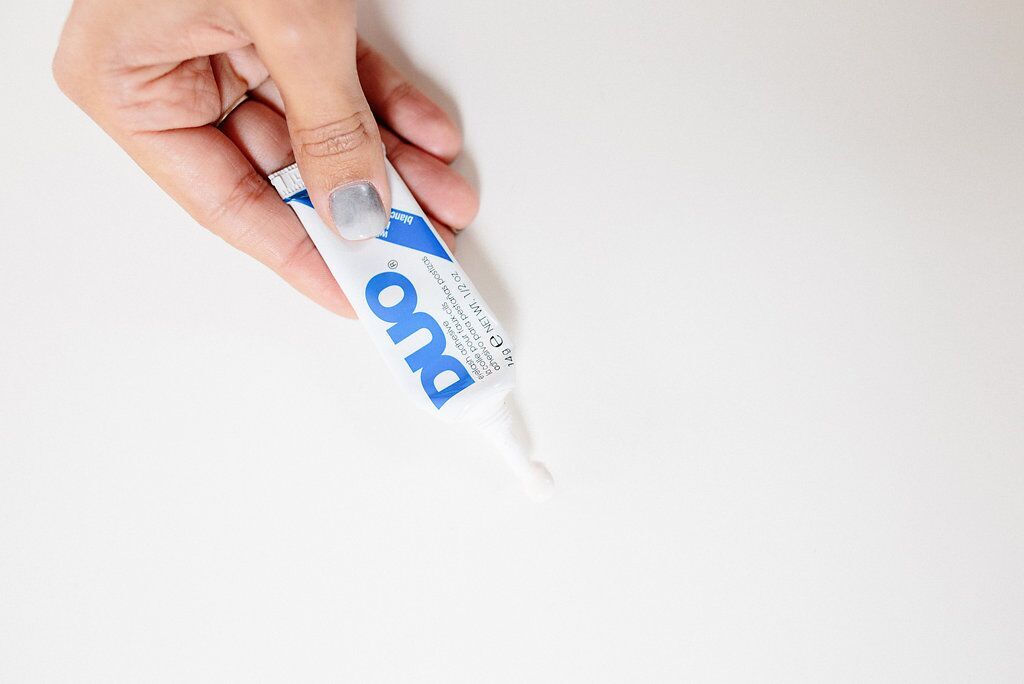

Step 3: APPLY LASH GLUE
How I do this is actually my BIGGEST trick to making applying lashes so simple. Take lash adhesive (I always, always use Duo), and put a small drop on any hard surface. Even a hand will work, if need be. Take the back of the tweezers and dip into the glue. Make sure to spread a small amount across the top of the lash line as well as flipping it over and covering the back part of the lash line. Now, get ready for the secret… Allow glue to then get slightly tacky. If placed directly to the lash with very wet glue, it may slide around ruining the eye makeup you just worked so hard on! I usually let it sit for about 15-20 seconds before placing it along my lashes.
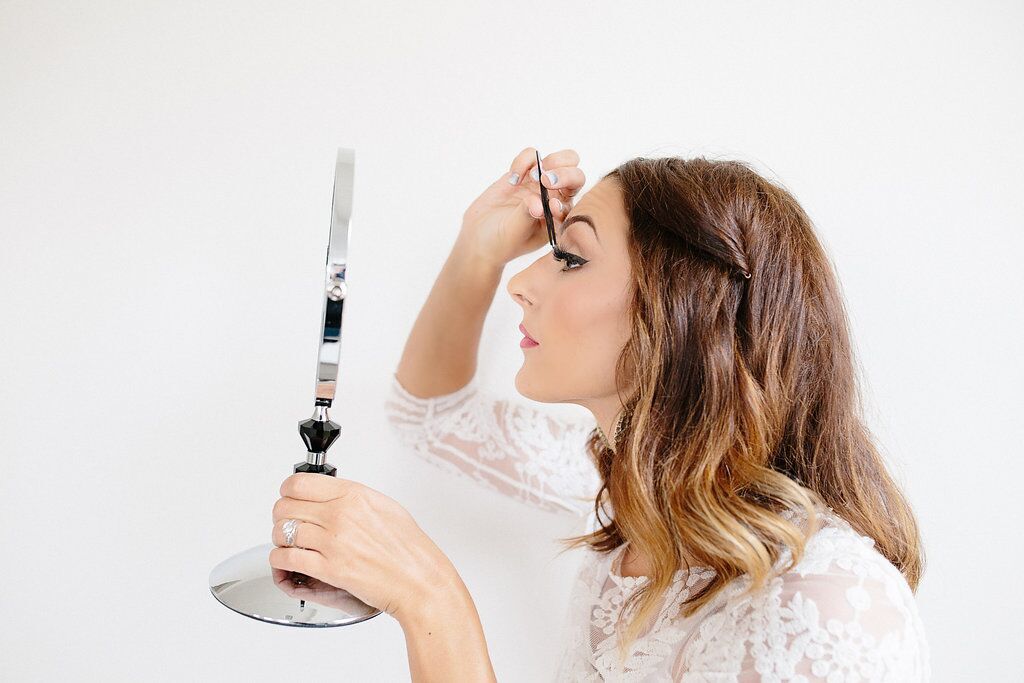
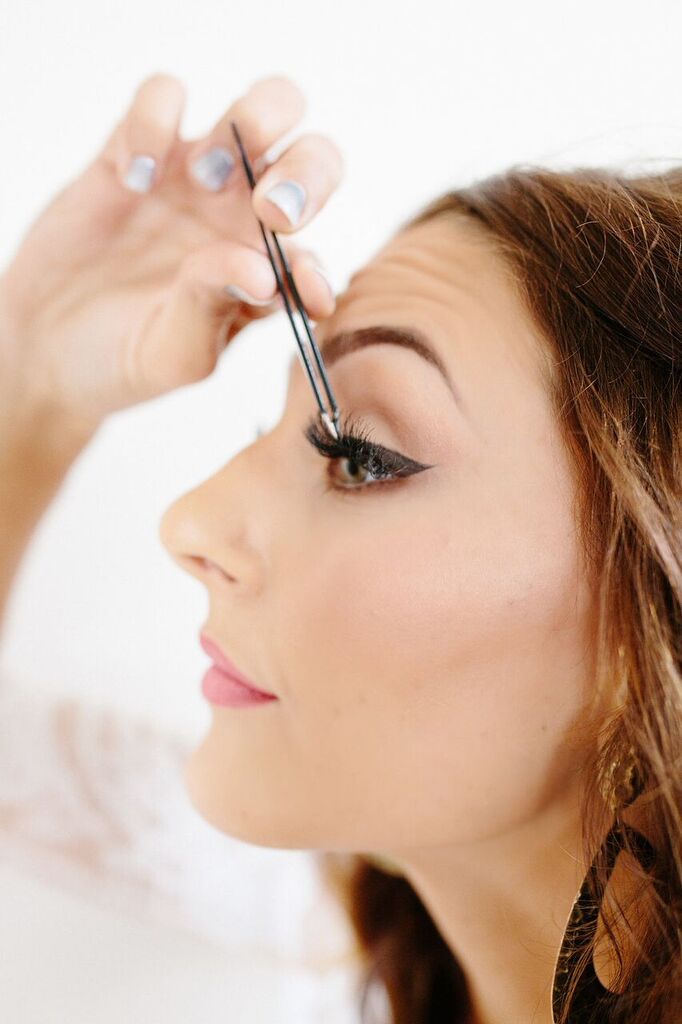
Step 4: APPLY LASHES
Something that I was shown years ago made this much easier for me, use tweezers! I simply grab the center of the lashes with tweezers and place in the center of my eye first. I then grab the outer part of the lash and place that along the lash line and then go to the inner and do the same. I like to place the false lash right in between my real lash and the skin of my eyelid. By having the glue tacky, it allows you to easily place the lash where you need it to go.
I then use my finger tip and press the false lash firmly into the lid, making sure every part of the false lash strip is firmly gripped to my actual lash line. Try looking down slightly rather than closing your eyes while the glue dries.
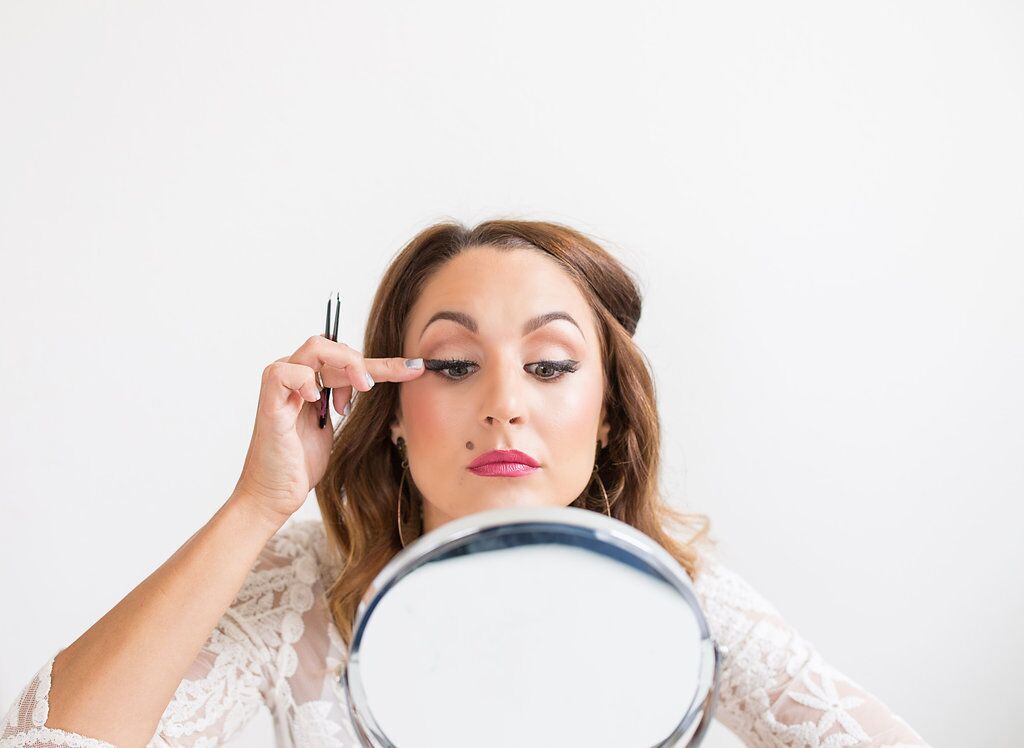
After the lashes are applied they will feel a little heavy. That’s normal and should go away after a short amount of time. Something that should not happen is poking when the eyes are closed. This will not go away after time. It will likely get more annoying and even make your eyes tear. If this happens, no problem! Just take off the lash, reapply glue and place them a little farther away from the inner corners. You will be happy you did!

Step 5: APPLY MASCARA (Optional)
I love to add a touch of mascara to bind the false lashes with my natural lashes. Make sure to let the lash glue dry completely before applying.
Viola! You now should have gorgeous eyelashes to flaunt, as well as the knowledge and confidence to apply them time and time again!
Photography by Jillian Goulding
Original post @ Best Friends for Frosting